如何轻松更换软管和手持花洒
请按照安装指南一步一步地进行安装或者您可以观看安装视频。
安装软管花洒和手持花洒
![](http://cdn.cloud.grohe.com/Web/local_assets_4_3/service/fr_fr/06_flex_hose_and_habnd_shower/4_3/960/06_flex_hose_and_habnd_shower_4_3.jpg)
1 - 如果主要的工作是在家里进行的,必须冲洗水网系统中所有的杂质,以免损坏您的混合龙头。
![](http://cdn.cloud.grohe.com/Web/local_assets_4_3/service/en/change-flex-hose-and-hand-shower-3_4_3/4_3/960/change-flex-hose-and-hand-shower-3_4_3_4_3.jpg)
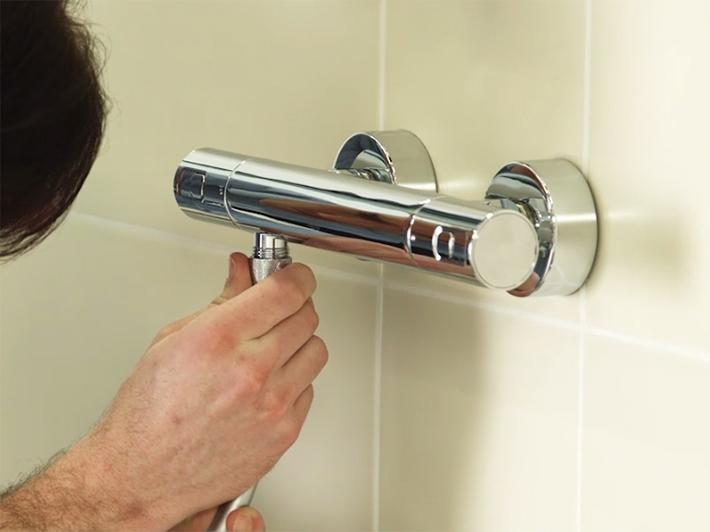
2 - 管适当的位置上的密封。如果丢失,应添加纤维或橡胶密封。
![](http://cdn.cloud.grohe.com/Web/local_assets_4_3/service/en/change-flex-hose-and-hand-shower-4_4_3/4_3/960/change-flex-hose-and-hand-shower-4_4_3_4_3.jpg)
3 - 把较小的一端旋转拧入到龙头上。
![](http://cdn.cloud.grohe.com/Web/local_assets_4_3/service/en/change-flex-hose-and-hand-shower-5_4_3/4_3/960/change-flex-hose-and-hand-shower-5_4_3_4_3.jpg)
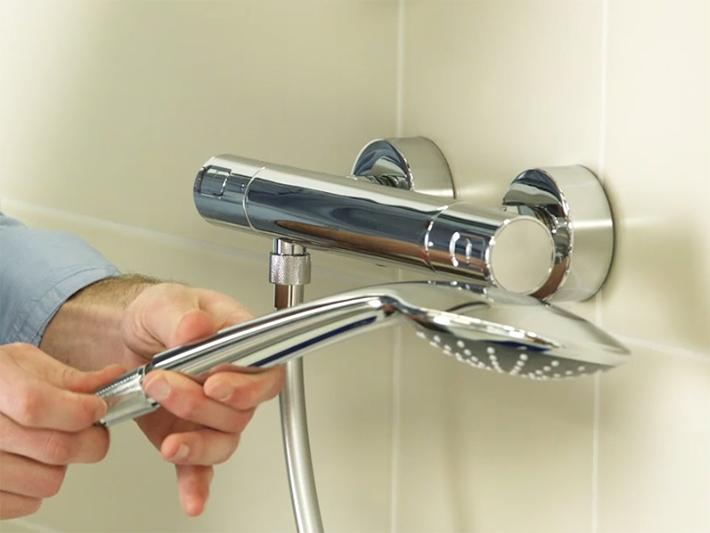
4 - 把较大的一端旋转拧入到手持花洒上。
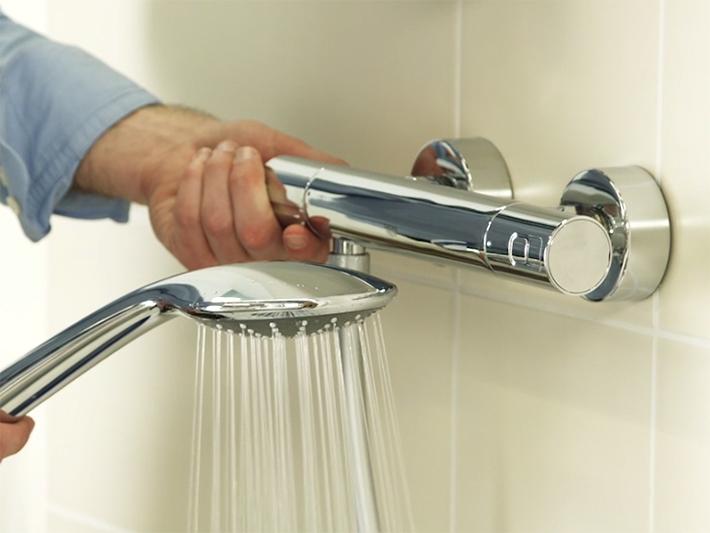
打开水
![](http://cdn.cloud.grohe.com/Web/local_assets_4_3/service/en/change-flex-hose-and-hand-shower-6_4_3/4_3/960/change-flex-hose-and-hand-shower-6_4_3_4_3.jpg)
确保手持花洒工作正常。
![](http://cdn.cloud.grohe.com/Web/local_assets_4_3/service/fr_fr/final_4_3/4_3/960/final_4_3_4_3.jpg)
恭喜您!您已经完成新购高仪产品的安装。如要查找其他安装指南或者高仪产品,请浏览www.grohe.com.cn。